

Experimentation is what drives my interest in pottery. The creative possibilities are endless, there are also seemingly endless techniques to try, and, as with any good challenge, there are endless way to make mistakes along the way. Read on to learn a bit about decorative pottery techniques and see a variety of projects in their various stages of development.


Colanders
There is something so fun about poking holes in pots. I definitely recommend getting a proper hole-making tool to make it easy and then having fun with luminaria and colanders. This colander is admittedly subtle in all white, and, for me, that was the challenge. Do I need color to make a striking pot? To me, the strong but subtle carved design shimmered in all white. It flew off the shelf quickly and that confirmed for me that strong design stands on its own without the addition of color.

Plates
Simply put, plates are one of the hardest forms to throw. They crack if your clay isn’t strong enough to withstand being long and thin, so save yourself a lot of frustration by using stoneware for plates. They are stronger if you make them a bit concave, and they will often punish you with cracks if you make them flat or convex. They want to dry slowly (or they will crack—see the theme here?), so keep them loosely covered and forget about them for longer than you think.
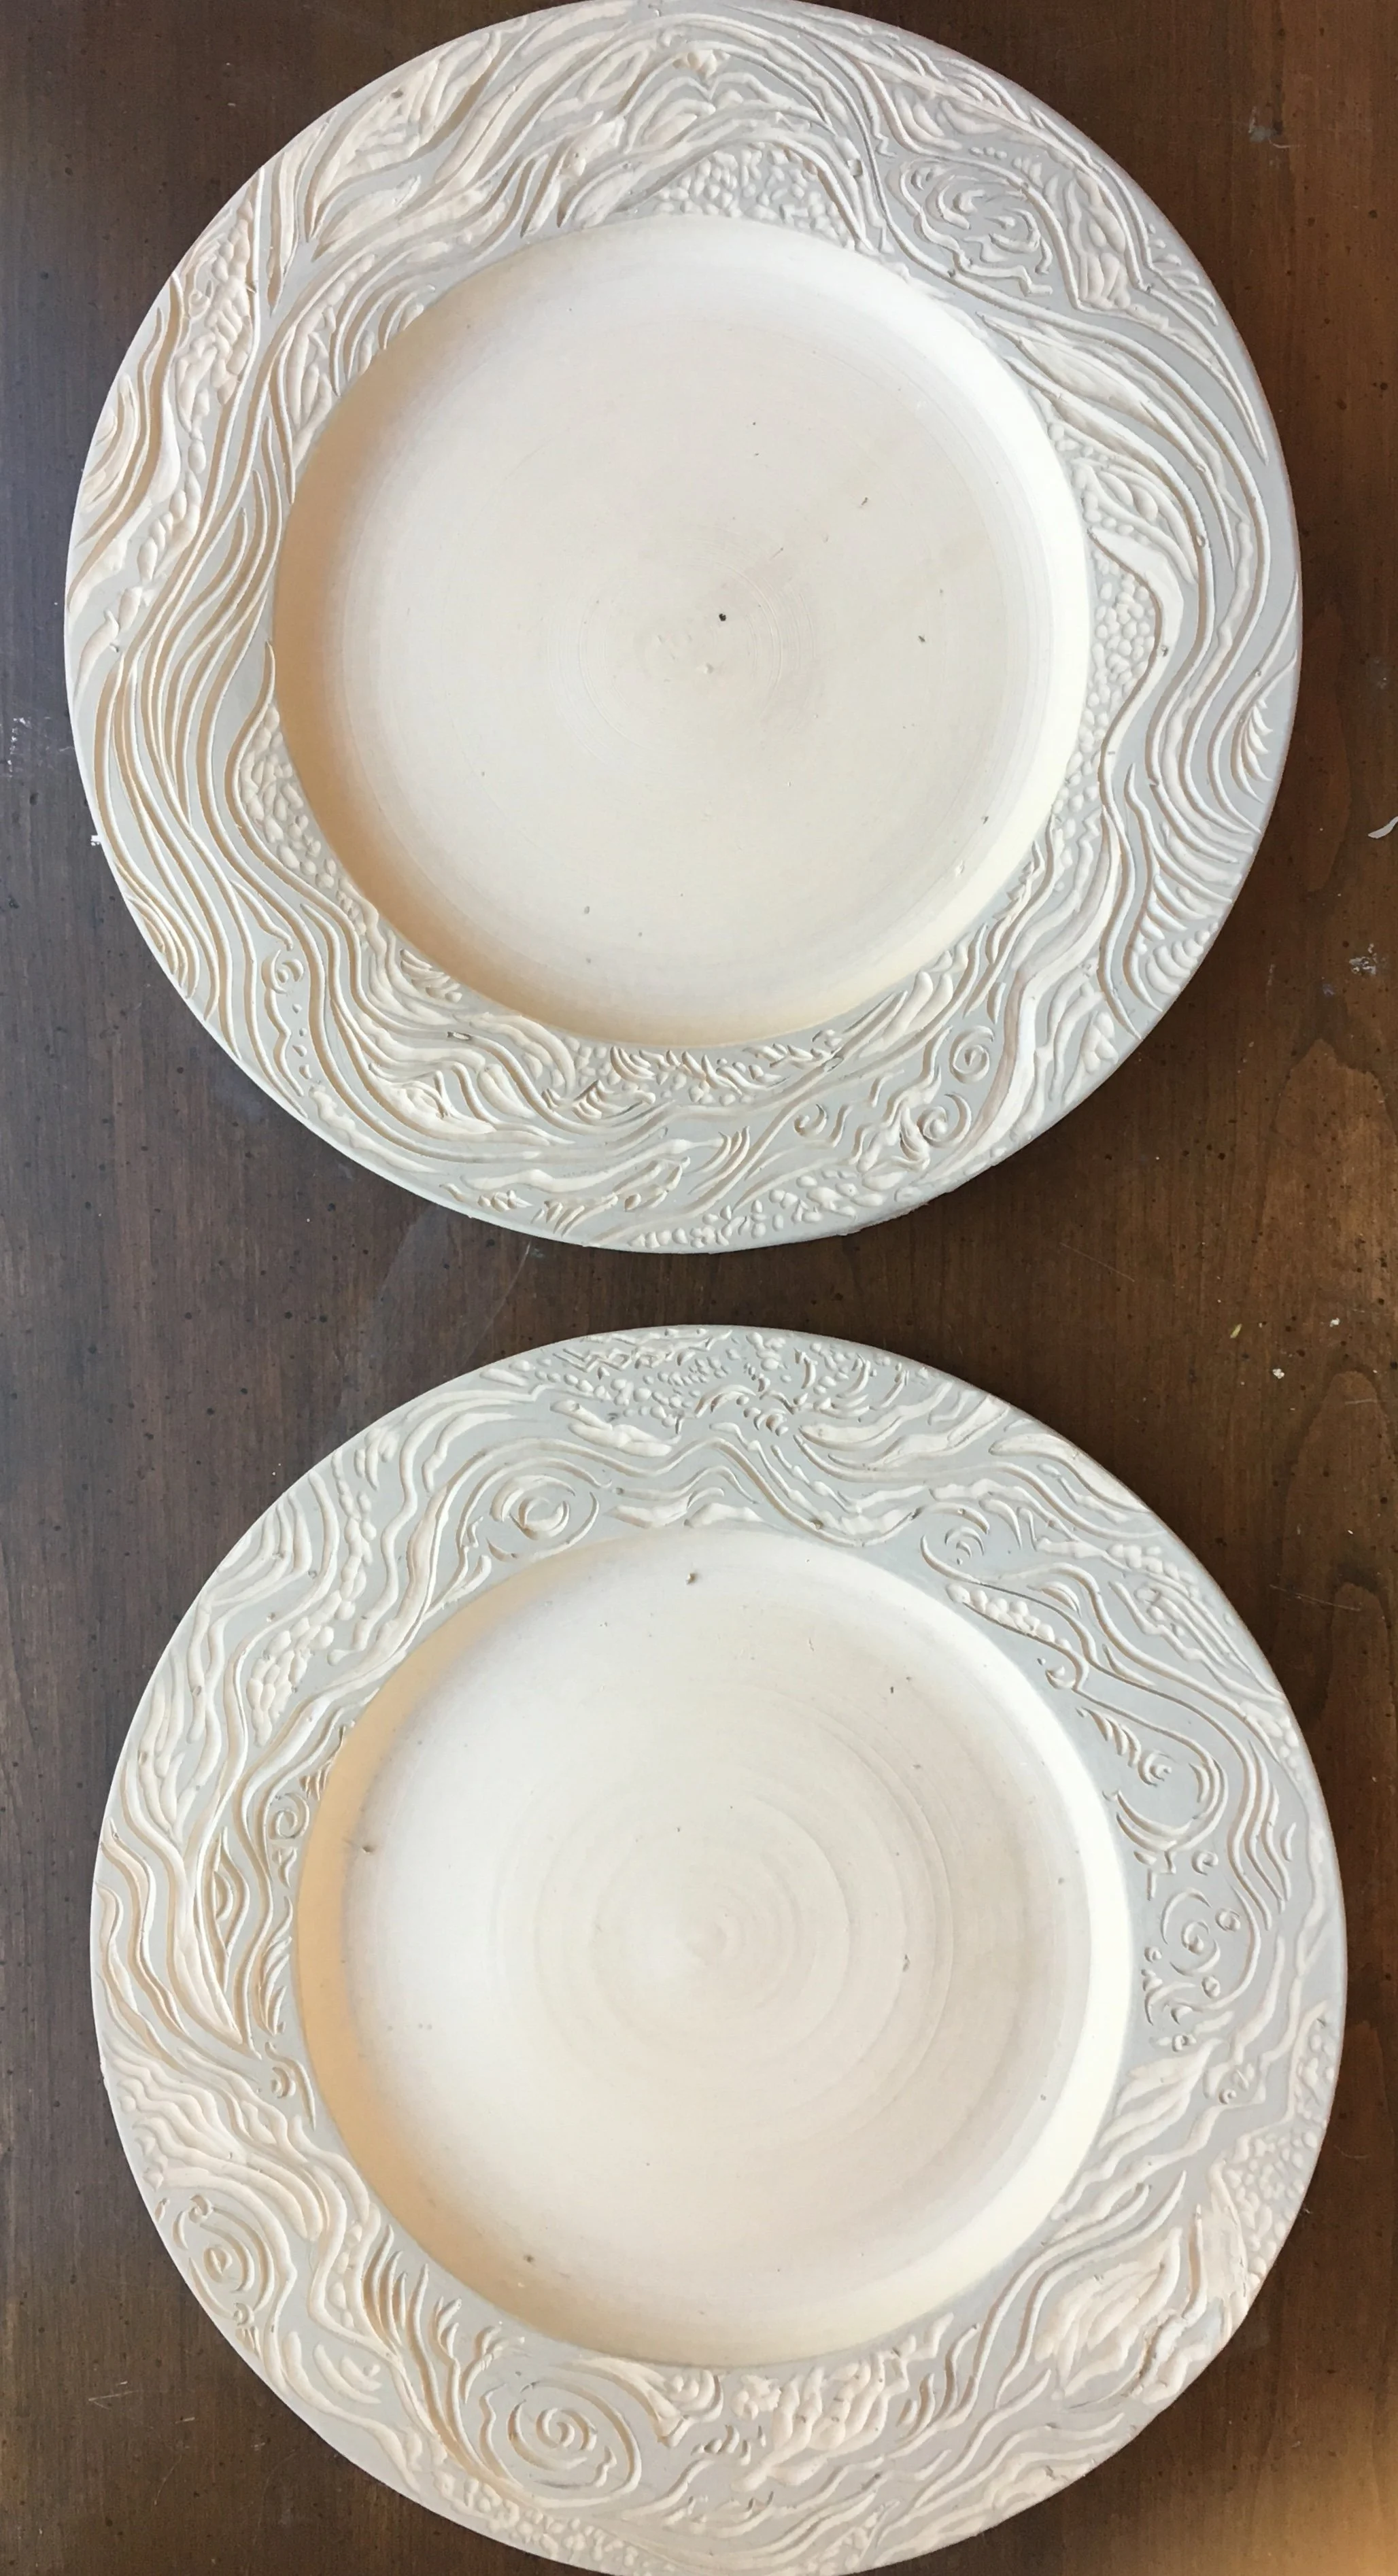
Once I figured out what clay stays strong as greenware, I had a lot more success. Then I tried to defy gravity by making plates with wide rims that I could carve with beautiful designs. They sagged at cone 10 and wouldn’t stack properly as a result. So I tried again by making the rims more upright and letting them dry more than I thought before putting slip or underglaze on them for sgraffito work. I have a lot of beautiful plates from those days, but none stack properly.


In the end, I gave some clay to my professor and hired him to make a set of 8 greenware plates for me that would stack properly so I could just focus on carving and glazing. I love the results. I still make plates for the fun of it now that I worked out all the kinks, but I leave the stacking sets to the pros.


Global Pots
When I have a big idea, I like to make smaller studies first. These two pots are small experiments in making “earthy” sprigged and carved pots. The blue one is reminiscent of looking at earth from outer space—lots of water and swirling clouds. The green and brown one is more about how earth feels to me from home. If I lived in a big city, these pots would look a lot different!
Shorebird Cups
I had been wanting to do a series of sgraffito cups featuring the shorebirds I see on my beach walks for some time: plovers, avocets, pelicans, herons, egrets, and sandpipers. I especially love watching the plovers run up and down the water’s edge and looking for critters to eat. I enjoy the pelicans’ formations and their striking dives from mid-air. The herons and egrets stealthy tip-toeing as they hunt is also interesting to watch, and the flurry of black and white when a flock alights is always inspiring. If I could grow wings and fly, I would do it in a heartbeat.
I wanted to capture the spirited movement and energy of the shorebirds more than their representational image, and I hope that comes across in these cups. To show the process, I’m posting pictures below of the carved slip before it is bisque fired and also after it is glaze with clear and fired again.


The Tower
My son gets a lot of joy from building with blocks, legos, magnetic tiles, etc. I got the idea of building a pot that was made of stacked forms that could be stacked in various ways to make different forms. I glazed each section in a raku workshop, and they came out beautifully; but in the end, I decided that it was a bit overwhelming to have so many different glazes stacked in one form, so I am enjoying them as separates and will make another tower to glaze differently that will hopefully be more effective as one unit.


Mug Shots
Sometimes you just luck out and your glazes make a humble mug really striking. In this case, the chemistry of two different glazes combined on one mug gave magical results. Like with people, chemistry is unpredictable, but it is half the fun of pottery.
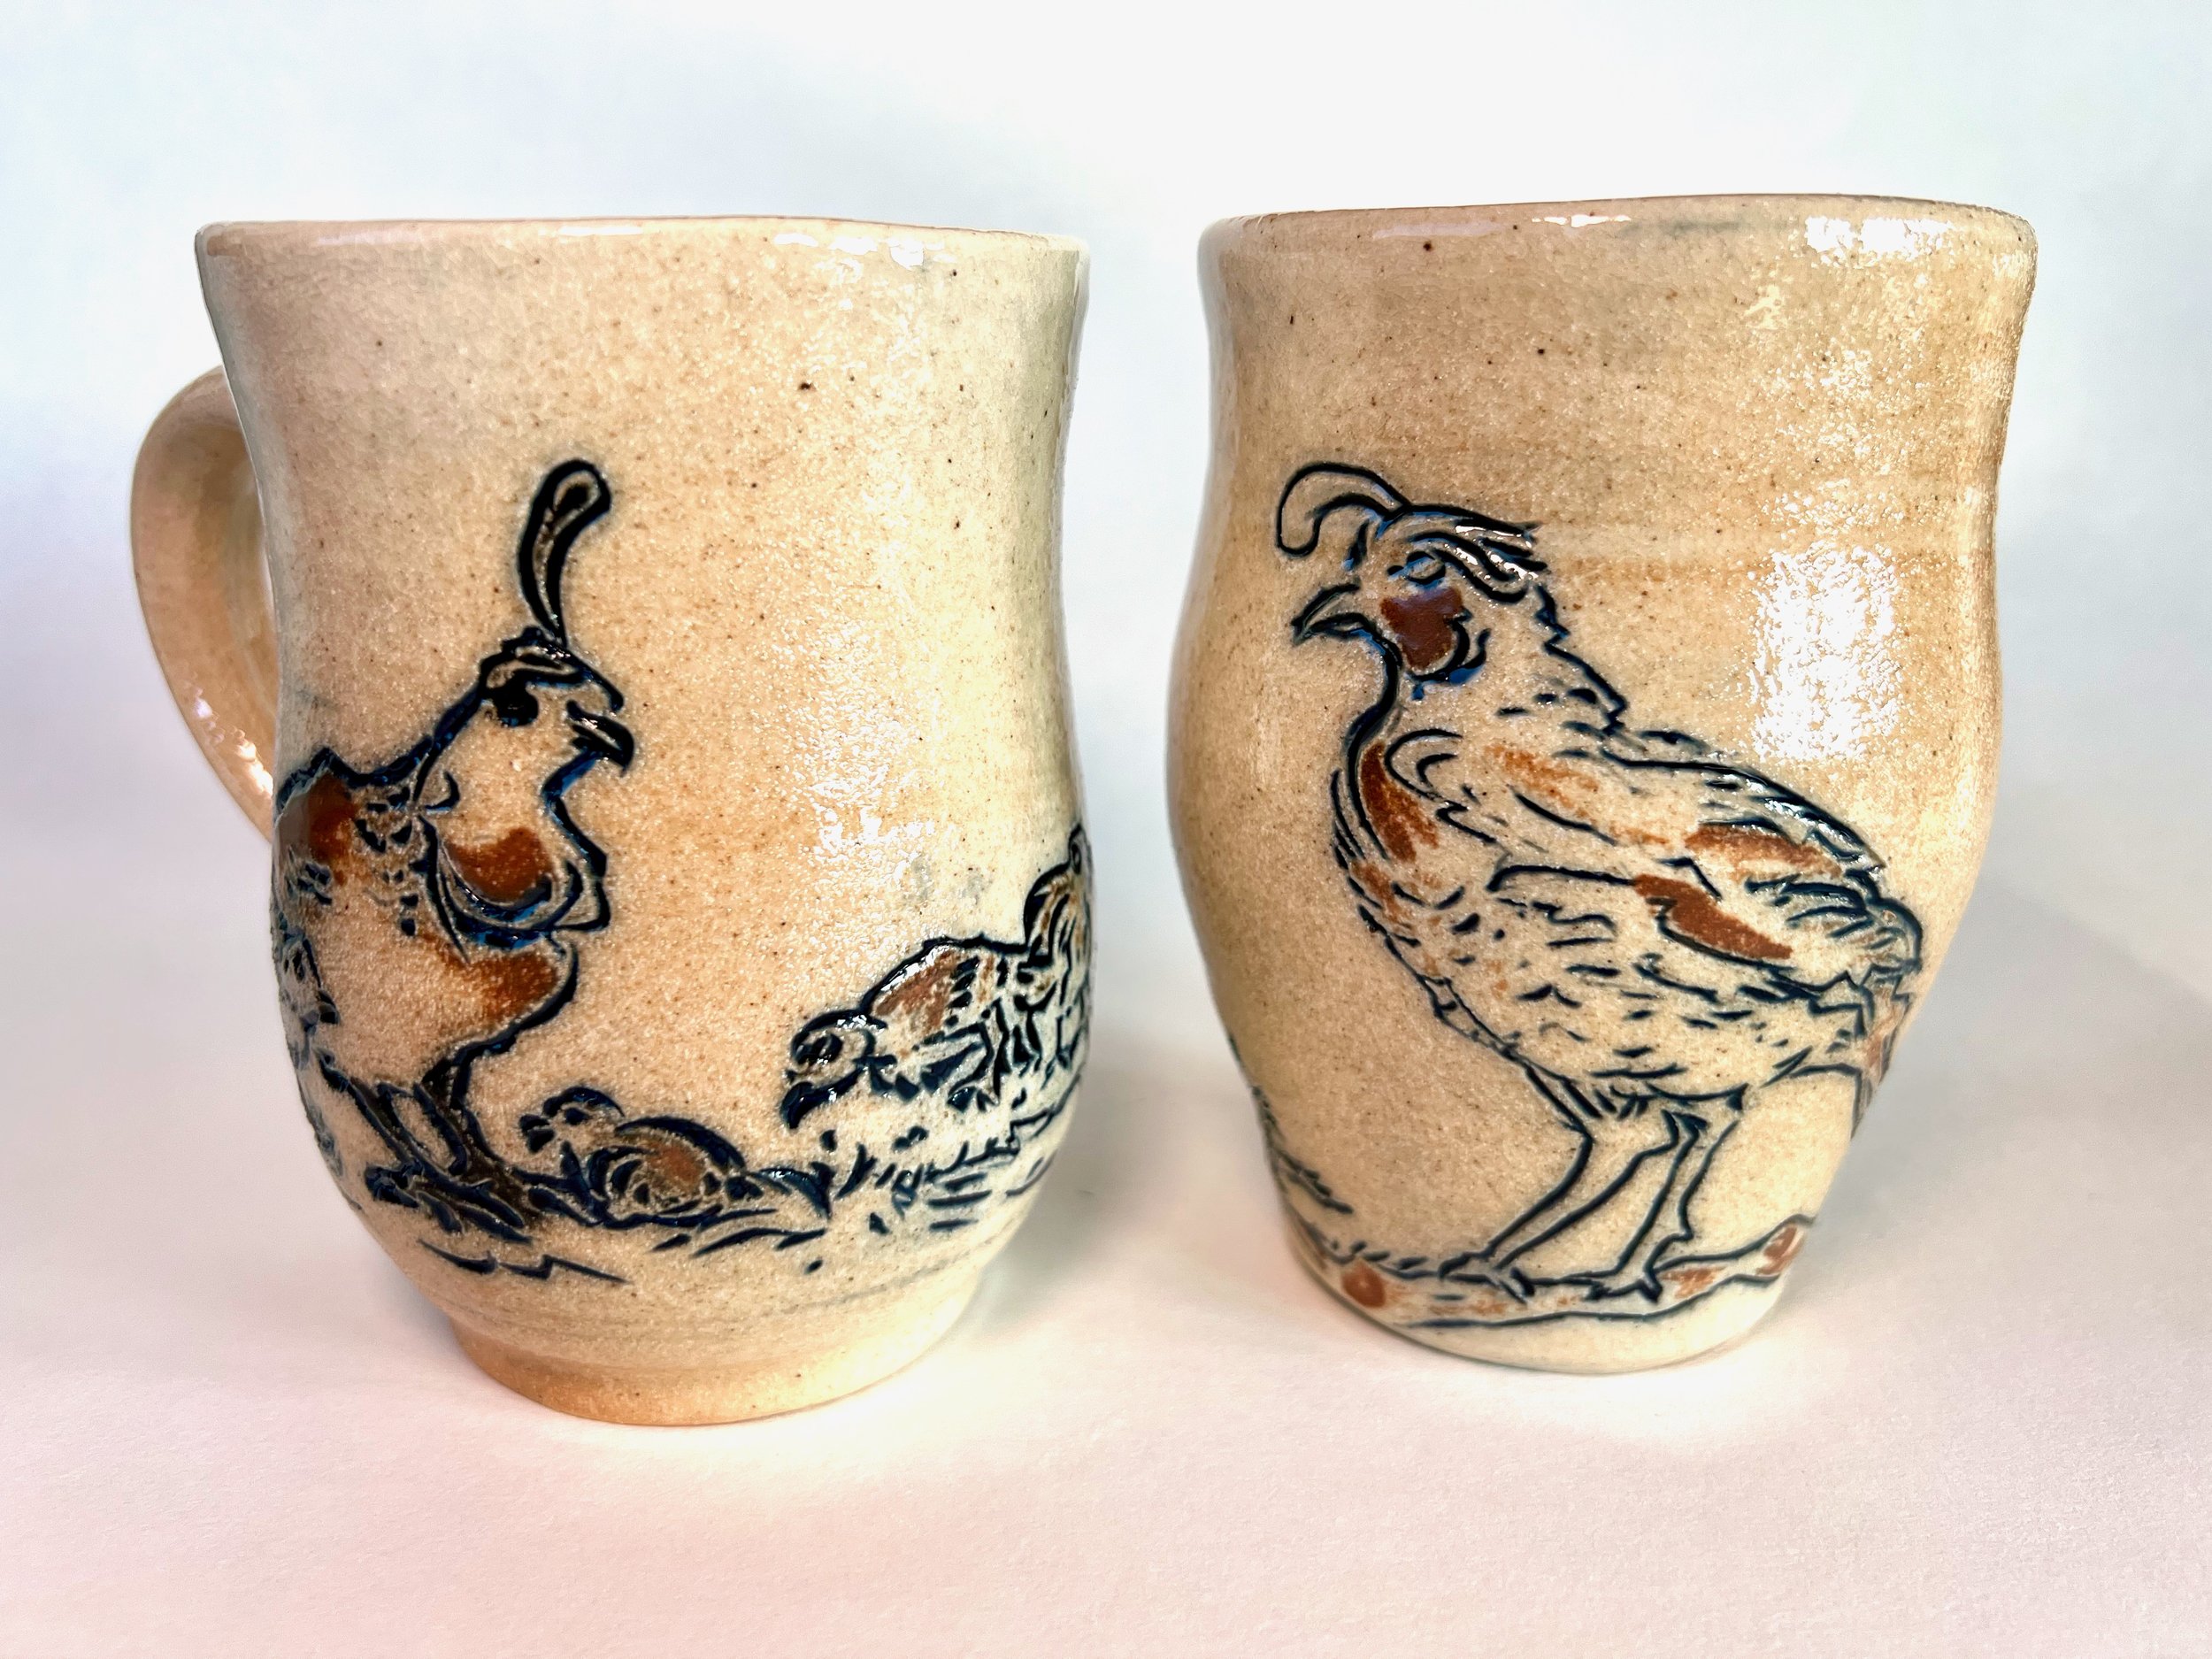
Telling a Story
One of the perks of living where we live is the wild quail in the garden. We often see families darting around and flying a bit if they are in a hurry. Sometimes we find nests in the mulch long after the chicks have grown, and I am always surprised that we didn’t find them sooner since they are not well disguised. One time I lifted up one of my son’s big toy trucks, and there was a empty nest underneath. I guess the quail are more familiar with us than we are with them since the toy truck and nest were next to the house for months without us noticing any parents tending to it. This is the first in what I hope to be a series of quail mugs, and, to me, these two mugs seem to be two parents saying to one another “Just look what we made!”
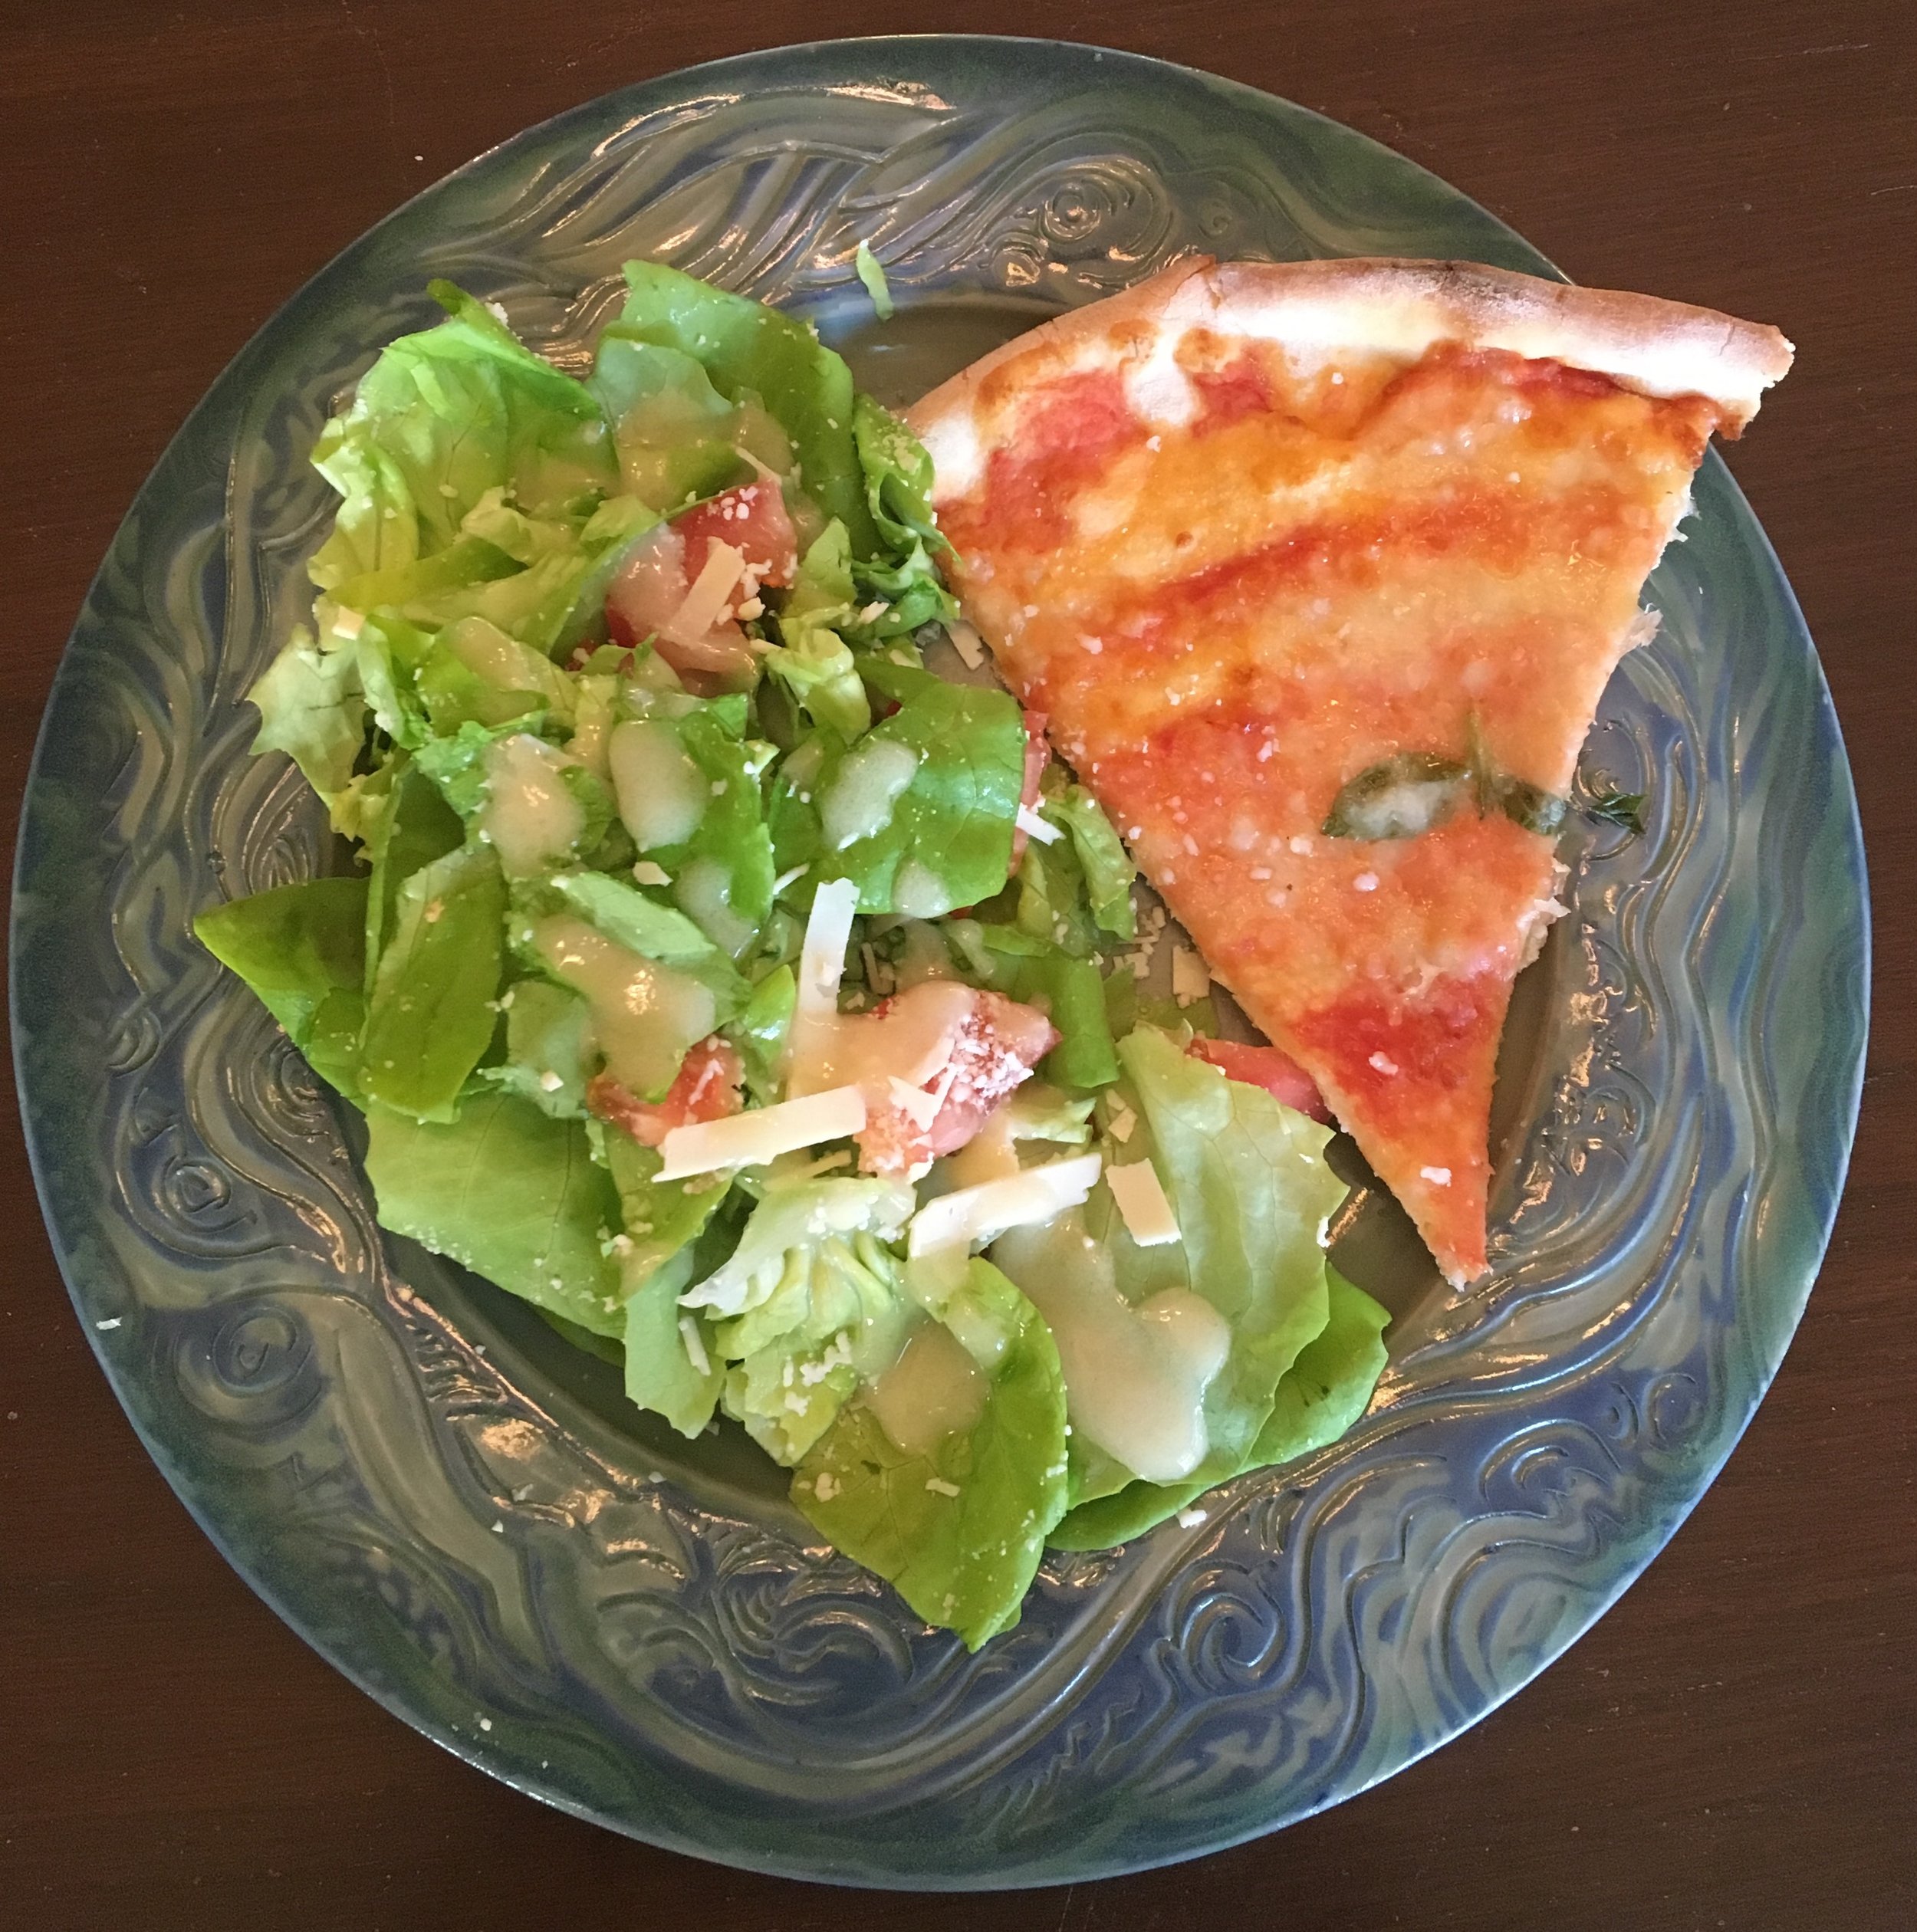
Food
Making pots is super fun, but eating out of them is even more satisfying. From sun-kissed summer strawberries to homemade pumpkin muffins for Thanksgiving, it just tastes better on my own pottery!


Energy & Movement
Birds are one of my favorite themes, and carving and sgraffito are my favorite way of expressing their unique energy and movement. These pieces capture the birds’ swirling movements as they fly through the sky and also highlight their interactions with one another while flying. The celadon glazed carvings in the bowl represent the birds’ energy flying off them and swirling through the air as they fly. The sgraffito cups show the interaction of clouds and birds and are a playing field of negative and positive and energetic movement.


Portraits Cups
This cup came about because I was testing Amaco’s underglazes at cone 10 and also trying to find out if they would work with my clear glaze at cone 10. I started by doing test tiles testing the colors individually, and I found that 90% of them worked fine at both cone 5 & 10. Next, I used successfully fired ones in a more painterly way to test how well they mix and match to create a palette, to see how well the colors stay true once fired when combined, and to see if they still fire successfully (no bubbling, crawling, etc.) when combined, and, lastly, to test if the colors fade with clear glaze over them. My biggest takeaway from the process was that I have to use a lot more layers of underglaze than I thought because the clear definitely made the underglazes lighter in saturation. So if you are going for subtle painterly effects with underglaze, go ahead and make it much more pronounced than you think it should be since it will be subtle after the clear is applied.


Woodpecker
One spring, a pair of woodpeckers decided to collect acorns and store them in a palm tree adjacent to the house. From the second story of our house, I was literally 5 feet away from them for months on end and got to watch the whole process. Woodpeckers fly in a charming scalloped pattern, and I watched with a smile as this pair visited all the neighboring trees and returned to our palm tree as the days turned into months. They saved enough food for an army of woodpeckers, but there was only two of them that winter.
Woodpeckers put in long days. We worked out a truce thanks to a lot of socks that I threw at them from the balcony over that first month, and now they stick to their tree and don’t peck on the house at 6 am. Two years later, they now have a small family flock doing the same thing, the palm tree is chock full of acorns, and none of them are pecking on the house; so somehow the original pair taught their chicks to stick to their tree.
Back to pottery….charmed as I was by the woodpecker family, I did a series of birds cups to see how to get intense color and still be painterly. I simplified the woodpecker into color blocks and put 4-5 coats of underglaze on the woodpecker to reach an opaque stage. The palm tree is applied in a more painterly way like watercolor painting from a palette, and you can see how the effect is more subtle and brushed than the woodpecker. I’m posting the bisque and the glazed results so you can see how you would need to paint the greenware to get similar results when glazed.


Underglazes with Celadon
Now that I’ve got some control over my underglazes, I wanted to try them with with celadon over them rather than clear. Not surprisingly, just like your choice of clay or whether you fire in reduction or oxidation will affect your underglaze colors, the choice of celadon glaze will tint the color of underglazes on your finished piece. Nobody every said pottery was simple, but somehow it still feels like Christmas morning when I open the kiln. That’s an unsolved mystery for sure.


Sprigged Two Part Pot
At some point, every potter wants to go big. On the wheel, this often means starting some cylinders, putting them together on the wheel with slip and scoring and throwing the form from there. With practice, I got better at this, and now my seams are seamless and my shapes are more fluid rather than lumpy. It’s a worthwhile challenge and rewarding in its own right.
